
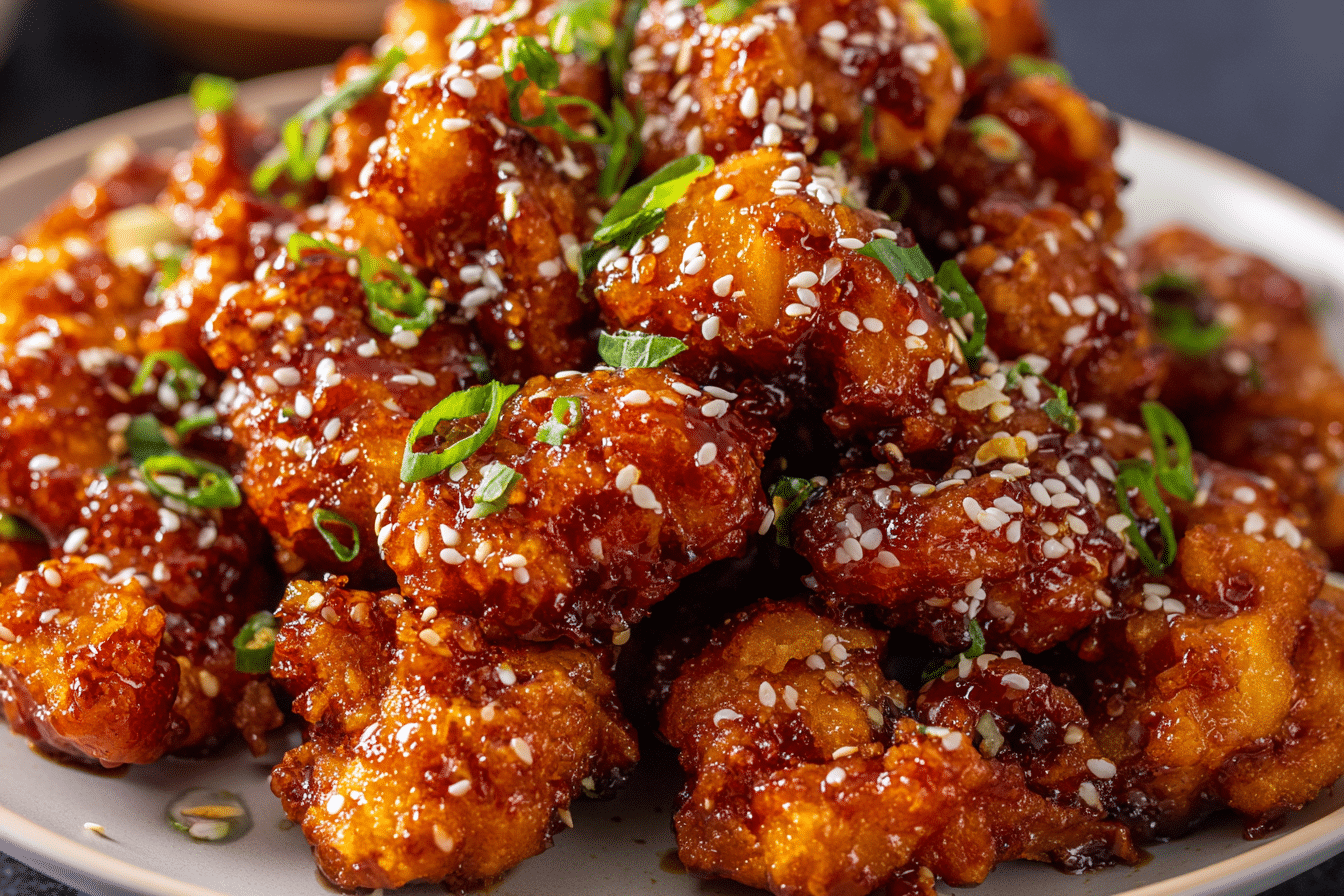
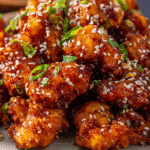
When dinner needs to be fast, flavorful, and just a little indulgent, this Easy Lazy Honey Garlic Crispy Chicken hits all the right notes. In just 30 minutes, you’ll have juicy chicken pieces coated in a golden, crispy crust and smothered in a sticky-sweet, garlicky glaze that’s better than takeout — and made with pantry staples.
This dish has roots in popular Asian-American flavors, combining soy sauce, garlic, and honey to create that irresistible sweet-savory profile. It’s perfect for weeknights, lazy Sundays, or whenever you’re craving comfort without the long prep. Plus, this version skips deep frying — using a quick pan-fry method that delivers crunch with less fuss.
Ingredients Overview
Every component in this recipe plays a role in building crispy texture and bold, satisfying flavor. Here’s what you’ll need:
Chicken Thighs or Breasts
Boneless, skinless chicken thighs stay juicy and tender, but you can also use chicken breasts for a leaner cut. Cut into bite-sized chunks for faster, even cooking.
Substitute: Try chicken tenders or even tofu for a meatless version.
Cornstarch
Cornstarch is the key to a light, crisp coating. It forms a golden crust when pan-fried, especially when combined with a bit of flour.
Tip: Don’t skip this — it’s what makes the outside crispy without deep frying.
All-Purpose Flour
Used with cornstarch to add structure to the coating. The blend keeps the chicken crunchy and holds up well under the glaze.
Salt, Pepper, Garlic Powder
Simple seasonings that build a base layer of flavor in the coating.
Egg
Helps the flour and cornstarch stick to the chicken pieces and gives a light, airy crunch when fried.
Neutral Oil (Vegetable or Canola)
For shallow pan-frying. Choose an oil with a high smoke point and neutral taste.
Honey
The star of the glaze — sticky, sweet, and perfect for caramelizing over the chicken.
Garlic
Fresh minced garlic brings bold, aromatic flavor. You’ll want it slightly browned but not burned.
Soy Sauce
Balances the sweetness of the honey with a savory, salty umami flavor. Use low-sodium to prevent overpowering the dish.
Rice Vinegar or Apple Cider Vinegar
Adds tang and brightness to balance the sweet and salty. It’s subtle, but essential.
Water + Cornstarch Slurry (Optional)
For thickening the glaze just enough to cling to the chicken beautifully.
Step-by-Step Instructions
This recipe comes together fast, so prep everything ahead. It’s a quick cook — and worth every step.
1. Prep the Chicken
Cut chicken thighs or breasts into even 1–2 inch pieces. Pat dry with paper towels to help the coating stick better.
2. Set Up the Coating
In one shallow bowl, beat an egg. In another, mix flour, cornstarch, salt, pepper, and garlic powder.
Dip each chicken piece into the egg, then dredge in the flour-cornstarch mixture, pressing to coat well.
3. Pan-Fry Until Crispy
Heat about 1/4 inch of oil in a large skillet over medium-high heat. Once hot, add the chicken in batches — don’t crowd the pan.
Cook for 3–4 minutes per side until golden and crispy. Transfer to a paper towel-lined plate.
Pro Tip: Keep the oil at medium-high and adjust as needed to prevent burning. Let chicken rest briefly before saucing.
4. Make the Honey Garlic Sauce
In a small saucepan, add:
-
1/3 cup honey
-
2 tbsp soy sauce
-
3–4 minced garlic cloves
-
1 tbsp vinegar
-
Optional: 2 tbsp water + 1 tsp cornstarch
Bring to a simmer over medium heat, stirring often. If using the slurry, stir it in now to thicken the sauce. Simmer until it bubbles and slightly thickens (3–5 minutes).
5. Toss & Serve
Place the crispy chicken in a large bowl and pour the sauce over. Toss gently until evenly coated.
Top with chopped scallions or sesame seeds if desired. Serve immediately for the best crisp-to-glaze ratio.
Tips, Variations & Substitutions
-
Air Fryer Version: Coat the chicken as usual, then air fry at 400°F for 15–18 minutes, flipping halfway through. Toss with sauce after cooking.
-
Extra Crispy: Double-dip the chicken in egg and flour mixture for a thicker crust.
-
Heat it Up: Add a pinch of red pepper flakes or a swirl of sriracha to the glaze for sweet-heat lovers.
-
Gluten-Free Option: Use gluten-free soy sauce (tamari), cornstarch, and a gluten-free flour blend.
-
Vegan Twist: Substitute chicken with tofu cubes or cauliflower florets. Adjust cooking time accordingly.
-
No-Fry Shortcut: Bake the coated chicken at 425°F for 20–25 minutes, flipping once. Then toss with the glaze.
Serving Ideas & Occasions
This honey garlic crispy chicken is incredibly versatile:
-
Serve it over: Steamed jasmine or basmati rice, garlic noodles, or a bed of sautéed greens.
-
Make it a bowl: Add shredded carrots, cucumber, and avocado for a fresh, colorful meal.
-
Game day snack: Serve on a platter with toothpicks — they’ll disappear fast.
-
Weeknight dinner: It’s fast, fuss-free, and better than takeout.
For drinks, try sparkling water with lemon, iced green tea, or a light lager if you’re pairing with alcohol.
Nutritional & Health Notes
This dish provides a balance of protein, carbohydrates, and fat — though it’s more of a treat than an everyday staple. To lighten it up:
-
Use less oil by air-frying or baking.
-
Serve with a side of steamed vegetables or salad.
-
Reduce honey by 1–2 tablespoons if you prefer a less sweet sauce.
Each portion offers protein from chicken, quick energy from the honey and rice, and optional fiber from added vegetables. As with all fried dishes, moderation and balance are key.
FAQs
Q1: Can I make the sauce ahead of time?
Yes. Store the sauce in a sealed container in the fridge for up to 5 days. Reheat gently before tossing with chicken.
Q2: What cut of chicken works best?
Boneless, skinless thighs are the juiciest and most flavorful, but chicken breasts work great for a leaner version.
Q3: How do I keep the chicken crispy after adding sauce?
Serve immediately after tossing in the glaze. For meal prep, keep the sauce and chicken separate until just before serving.
Q4: Can I bake the chicken instead of frying?
Absolutely. Bake at 425°F on a wire rack over a baking sheet for 20–25 minutes. The texture is slightly less crisp but still delicious.
Q5: Is there a low-sugar option?
Yes. Use a reduced amount of honey or a sugar-free honey alternative, though the glaze texture may differ slightly.
Q6: Can I freeze this recipe?
The chicken freezes well after cooking, but the texture is best fresh. Reheat in an air fryer or oven for best results. Freeze sauce separately.
Q7: What vegetables go well with this dish?
Try steamed broccoli, snow peas, or a simple cucumber salad to balance the richness of the glaze.
Crispy Honey Garlic Chicken Thighs Everyone Craves
Crispy chicken bites pan-fried and coated in a sticky, garlicky honey glaze — a 30-minute dinner that’s better than takeout and made with pantry staples.
- Prep Time: 10 minutes
- Cook Time: 20 minutes
- Total Time: 30 minutes
- Yield: 4 servings 1x
Ingredients
-
1.5 lbs boneless chicken thighs or breasts, cut into chunks
-
1/4 cup cornstarch
-
1/4 cup all-purpose flour
-
1 tsp garlic powder
-
Salt and pepper to taste
-
1 egg, beaten
-
1/4 cup neutral oil (for frying)
Honey Garlic Sauce:
-
1/3 cup honey
-
2 tbsp soy sauce (low-sodium)
-
3–4 cloves garlic, minced
-
1 tbsp rice vinegar or apple cider vinegar
-
(Optional) 2 tbsp water + 1 tsp cornstarch, for thickening
Instructions
-
Cut and pat dry the chicken. In separate bowls, beat egg and mix flour, cornstarch, garlic powder, salt, and pepper.
-
Dip chicken pieces in egg, then dredge in the flour mixture.
-
Heat oil in a skillet over medium-high. Fry chicken in batches until golden and crispy (3–4 min per side). Drain on paper towels.
-
In a saucepan, combine honey, soy sauce, garlic, and vinegar. Simmer 3–5 minutes until slightly thickened.
-
Toss crispy chicken in the sauce. Serve hot with rice or vegetables.
Notes
Double-dip for extra crunch. Try with tofu or air-fry for a lighter version. Great for weeknight meals or party bites.